
Morticing has never been my favourite job.
Depending on the size of joint I have various techniques that I use, and for hefty mortices like in our French workbench build, I prefer to drill out the waste rather than go at the whole thing with a chisel.
But then I hate squaring up drilled out mortices, particularly when they’re in ash.
Luckily though this bench wasn’t made of ash, so that was something.
My old go to method for morticing when I was building workbenches full time, was to use a pillar drill then a chisel to square them up. That was at least until I was able to put enough fundage together to get a good morticer, and you need a bloody good one when your working in large sections of ash.
As a result of those struggles though, I got pretty nifty at the chisel work.
The Method – Squaring Up A Mortice
To cut these big joints you need to mark out both the walls with a gauge, and knife in the ends.
It’s also a good idea to put in a centre line to aid positioning of the drill bit.
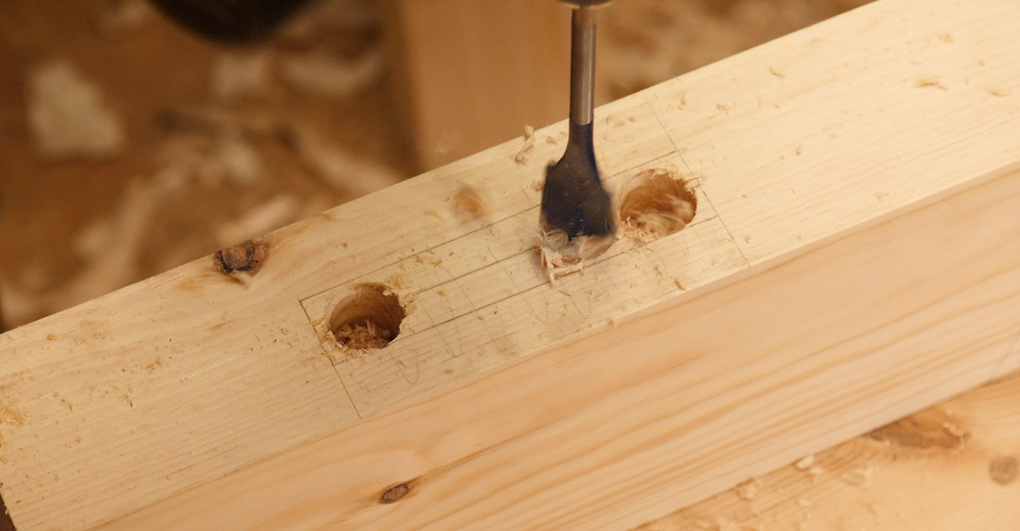 I use a self-feeding flat bit that’s a tad narrower than the width of the mortice, and drill out at each end, coming in about a 1/16″ to a 1/8″ off the knife line.
Then the centre run can be removed, drilling each hole as close to the previous as possible without the bit falling in to the other.
This is the method if I’m free hand drilling – using a brace or power drill.
It’s a little different if you’re using a pillar drill as you can gain an extra level of precision.
Now we need to square the ends up and take those corners out slightly to meet the wall gauge lines.
I find this best to do with a very narrow chisel, a quarter inch or so. The narrow edge ensures that when we whack, most of it is in contact with something, which prevents that twisting thing that a wider chisel would do.
I take light bites until I’m just off my knife line, but I do try to get it to just kiss the gauge “wall” line.
I do this for each of the four corners.
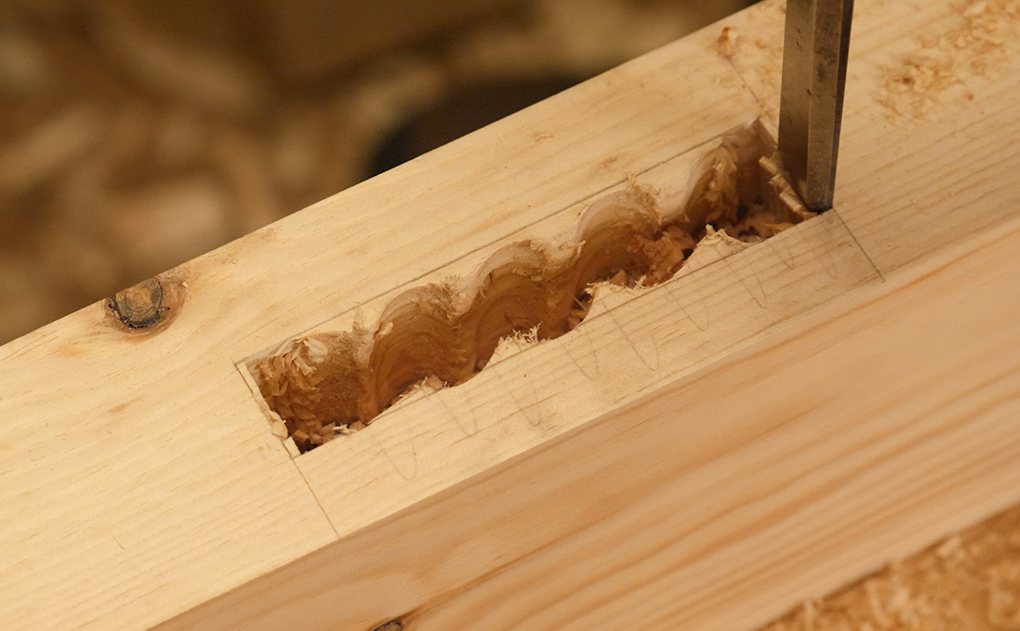 Now is a good time to clear the obvious chucks out between the holes, so we can get good access to the rest of the waste with a chisel.
I find these bits pop out easily if you just split them out with the grain. I like to pare them back so they’re flush with the holes, which again is pretty effortless since you’re paring down the grain.
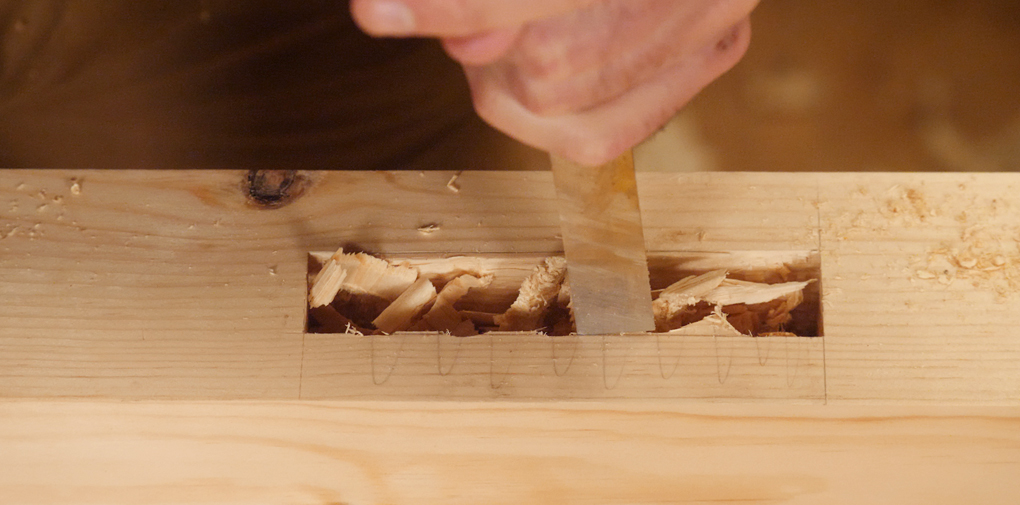
We’re now left with a mortice that’s slightly narrower than we need, with corners that flare out to the four points.
We can tackle the ends easily by taking light bites until we can sit the chisel right in to the knife line.
And I sort out the width by going at the walls with as wide a chisel as I can.
Keep taking small bites in one corner until the chisel can sit in the gauge line, I then almost walk the chisel along paring down the wall.
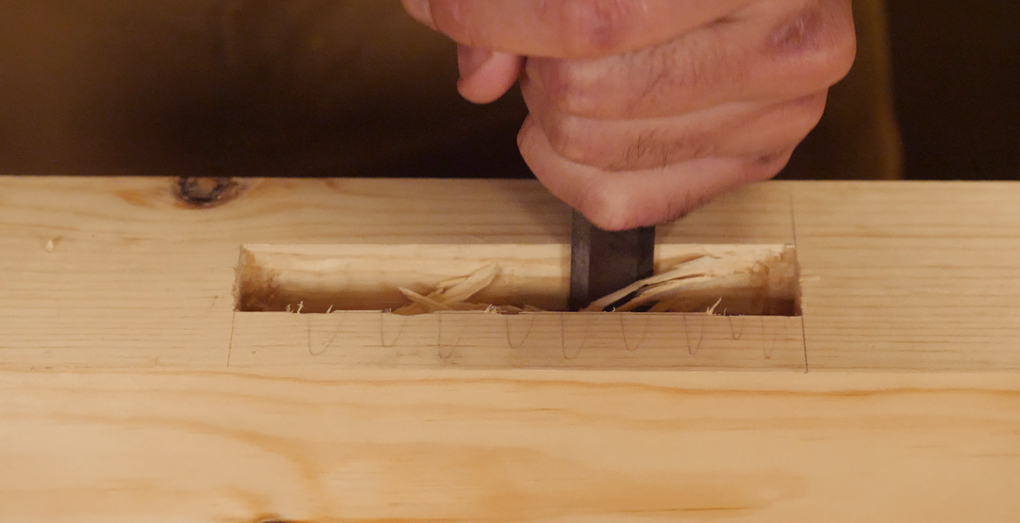
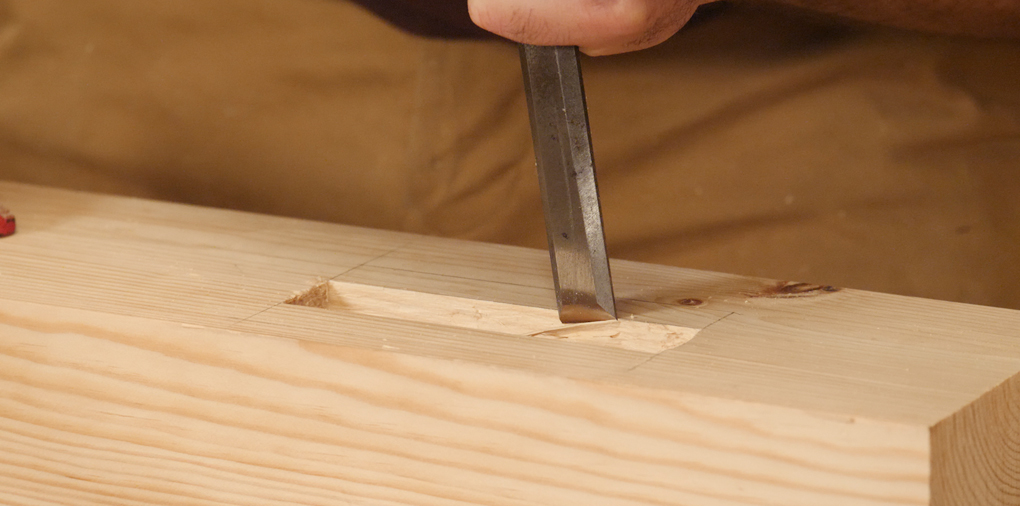 And that’s it, job’s a good ‘un.
Once you get a rhythm going they don’t take that long.
Interested In Watching A Workbench Build?
We’re now up to Chapter Five in our ‘Build A French Workbench’ video series.
We’ve been joining the base together this week, which has involved a fair few mortices to get squared up.
You can find details for the series here (and don’t forget that the intro price will be ending after the build is completed!)


