
Getting a nice looking pegged joint is all about compression.
You basically want the peg to be a bit too tight for the hole so it cleans up without any gaps.
But, that’s not to say you can just whack a fat bit of dowel through a hole that’s too small and expect a good job (although that does sound a lot like life at times).
This is where a proper made, tapered peg comes in.
I’ve talked a lot about how I make pegs already, so I’ll not bore you with that again. What’s important is getting that taper right.
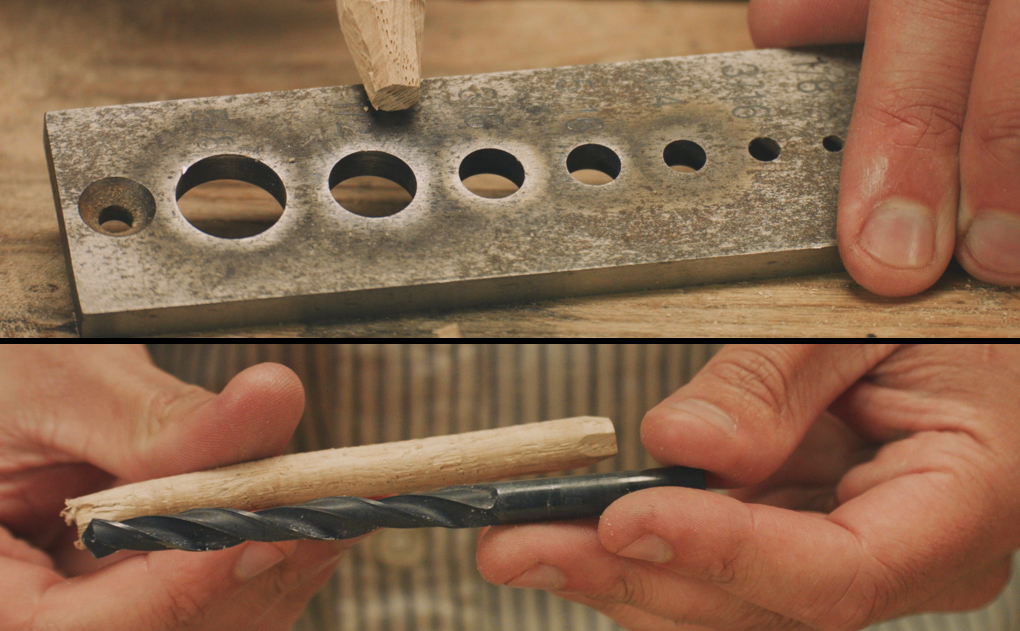
Basically, one end wants to be a nice sliding fit in the drilled hole, and the other too tight.

The fat end of your peg wants to be slightly oversized, so it’s too tight to be pushed easily in to the hole.
This means that your peg blank needs to be slightly larger than the hole that you drill through your joint.
Often having two measurement systems is nothing but a headache, but I have found a benefit when it comes to this kind of scenario where you’re looking for a weird tolerance.
If you’re using a dowel plate for your peg making then it’s an idea to opt for an imperial one.
Team this up with drill bits that are metric.
This combination makes it very easy to create pegs with a fat end that’s perfectly oversized.

Take a look at this post for a guide to making tapered wooden pegs. Or follow the process step by step in our Hall Table Build Series.
This is how I’d match the dowel plate & drill bit diameters:
1/4″ (6.35mm) dowel plate | 6mm drill bit
5/16″ (7.93mm) dowel plate | 7.5mm drill bit
3/8″ (9.52mm) dowel plate | 9mm drill bit
If you’re looking for good drill bits then you could check out this post. Both the Lee Valley and Star M bits are available in all of the diameters mentioned.
And if you’re in need of keeping your pegged joint tidy on both faces, have a little look at the trick in this post.
Many thanks for everyone who’s joined the French workbench video series already. We’re getting set for chapter one next week.
We’ve made a note of all the common questions you’ve been asking and are putting together some new posts to get the main ones answered.
If you haven’t seen the intro yet for this build series, then have a watch here.


